CloudStrike Hosting VPS Setup Guide
This guide will walk you through setting up your new CloudStrike Hosting VPS from start to finish. The process is simple and should have you connected to your VPS in about 15 minutes.
Step 1: Purchase Your VPS
After purchasing your VPS through the Shopping Cart - CloudStrikeHosting , log in to the https://vps.cloudstrikehosting.com/login.
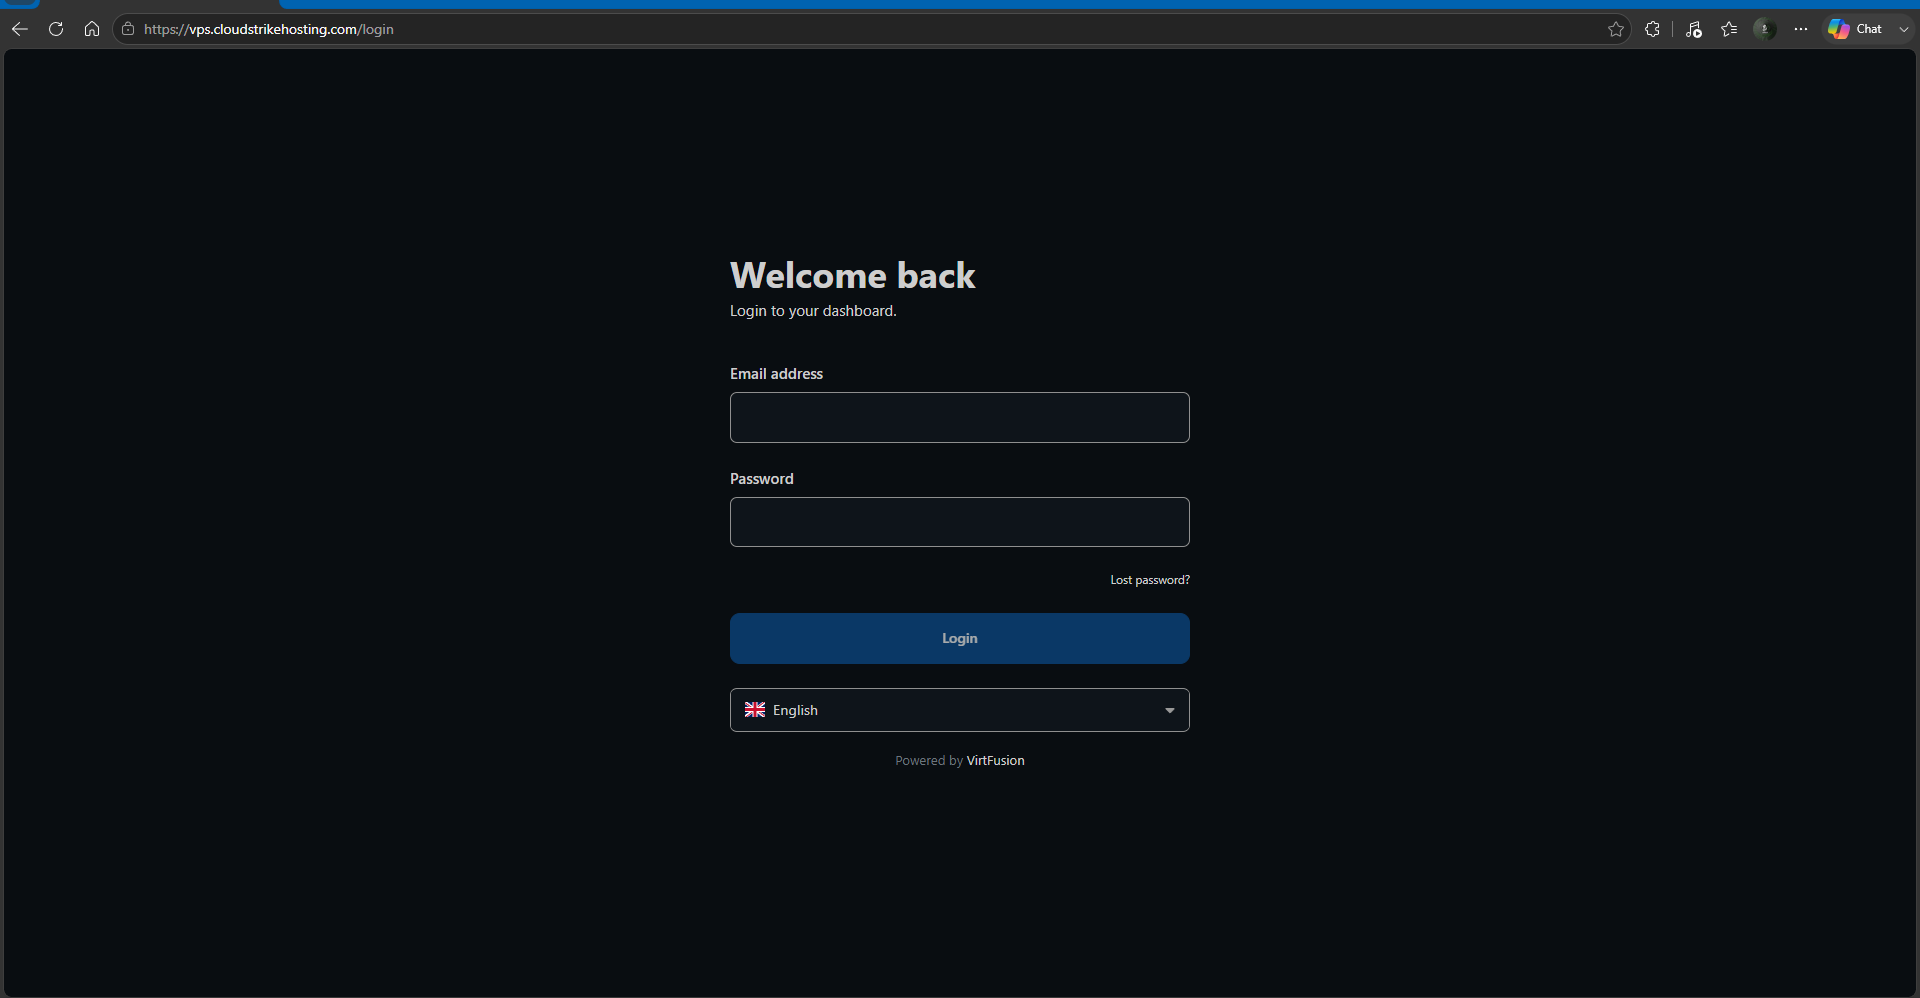
Step 2: Log In
Use the same email address and password that you used when purchasing your VPS.
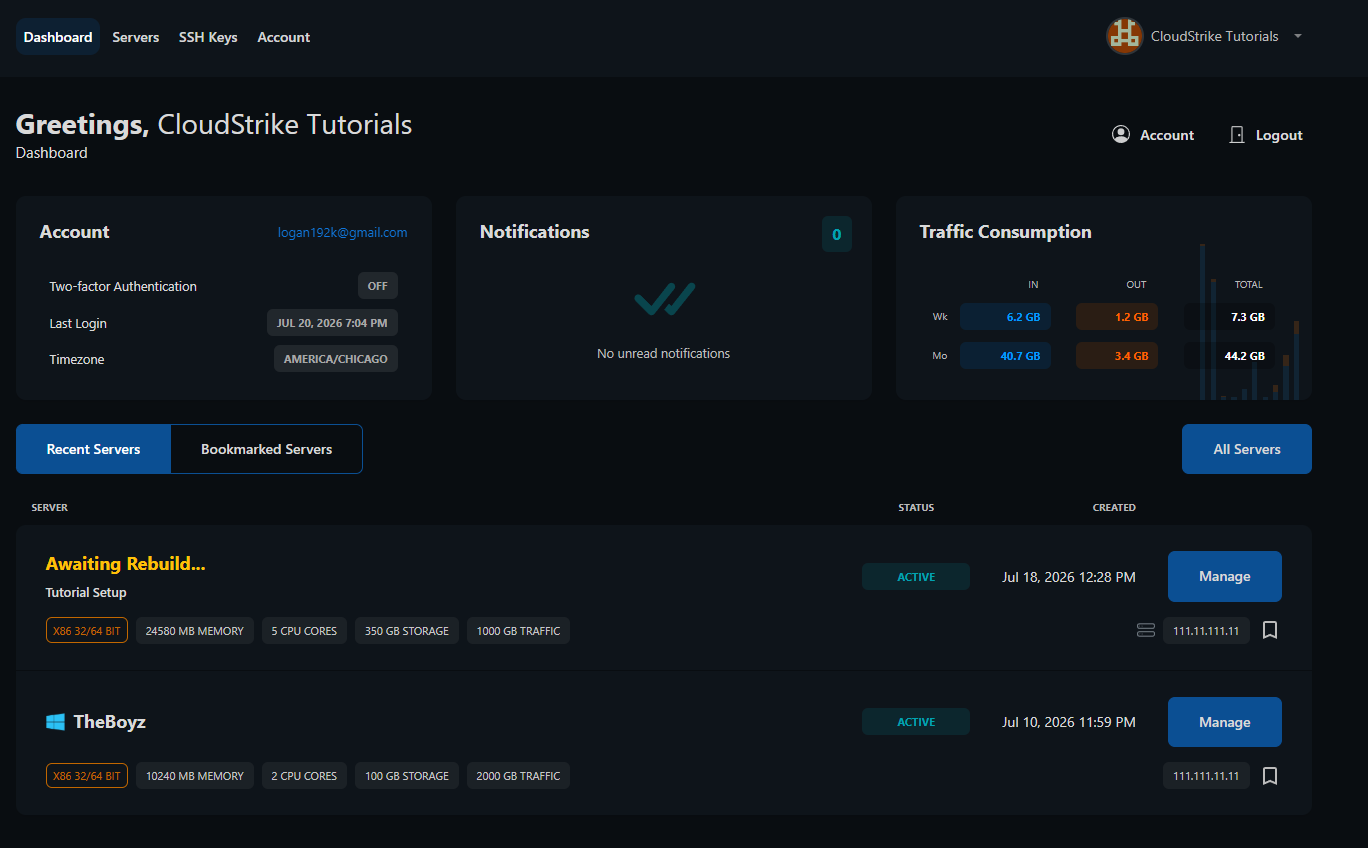
Once logged in, you'll be taken to your VPS Dashboard.
Step 3: Install an Operating System
On your VPS Dashboard, you'll see a list of your servers.
Next to the VPS you'd like to set up, click Manage.
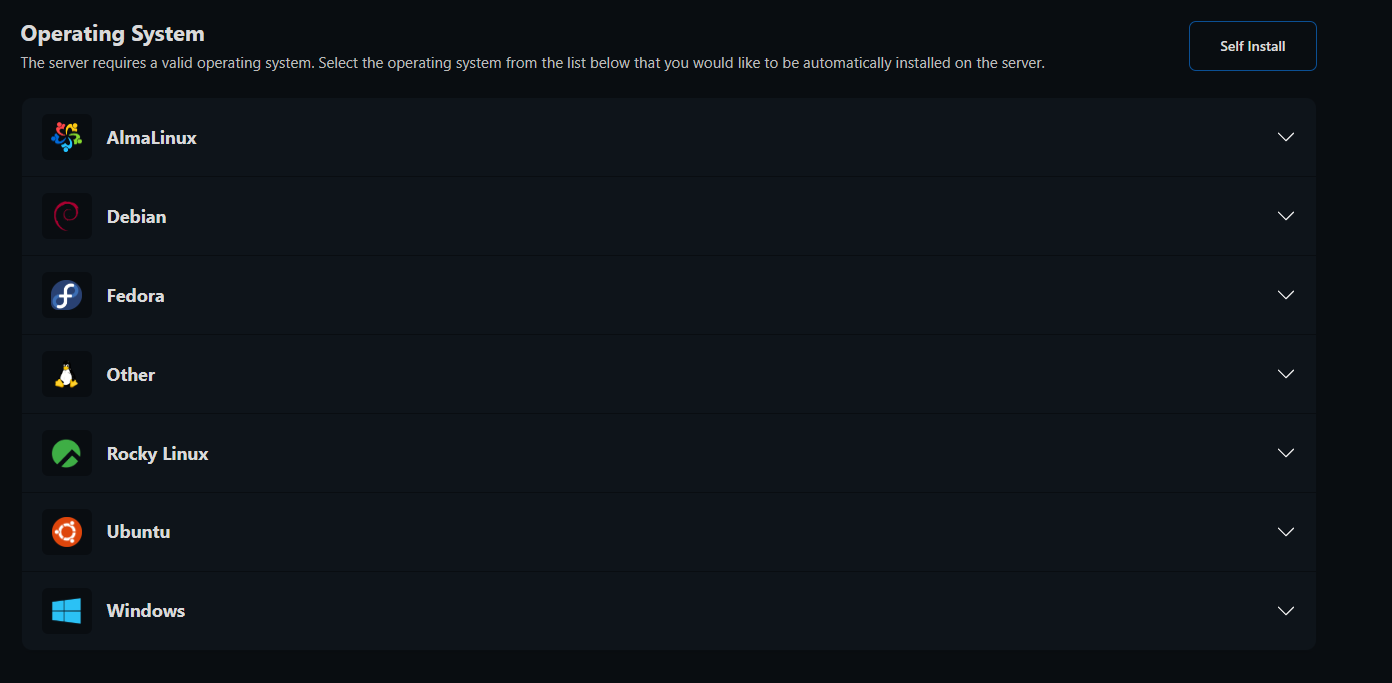
You'll then be presented with a list of available operating systems to choose from.
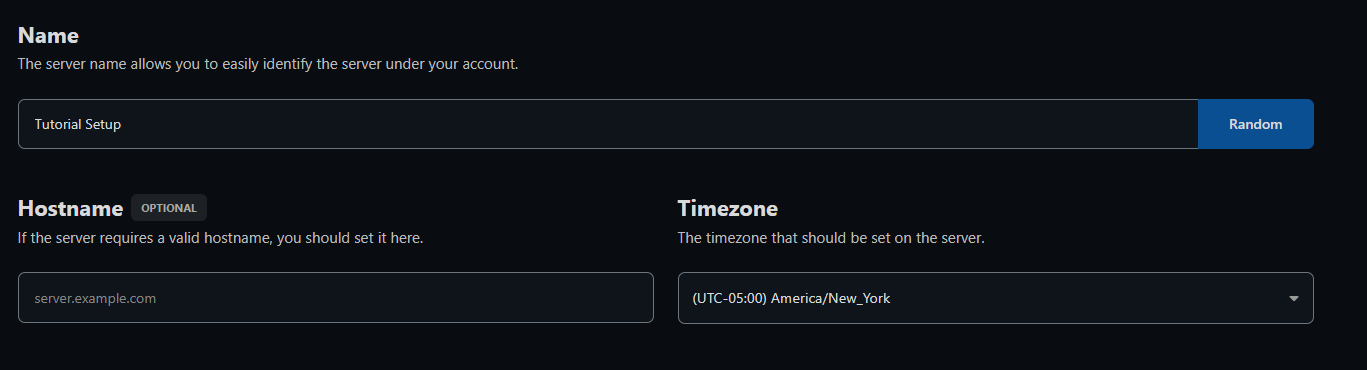
You'll also have the option to name your server. This is simply for your own organization and makes it easier to identify your VPS on your dashboard if you have multiple servers.
The Hostname field is optional and can be left blank unless you have a specific hostname you'd like to use.
You can also select your preferred Time Zone. Choosing your local time zone will cause the VPS to display the same date and time as your current location, making it easier to keep track of scheduled tasks and logs.
Step 4: Choose Your Operating System
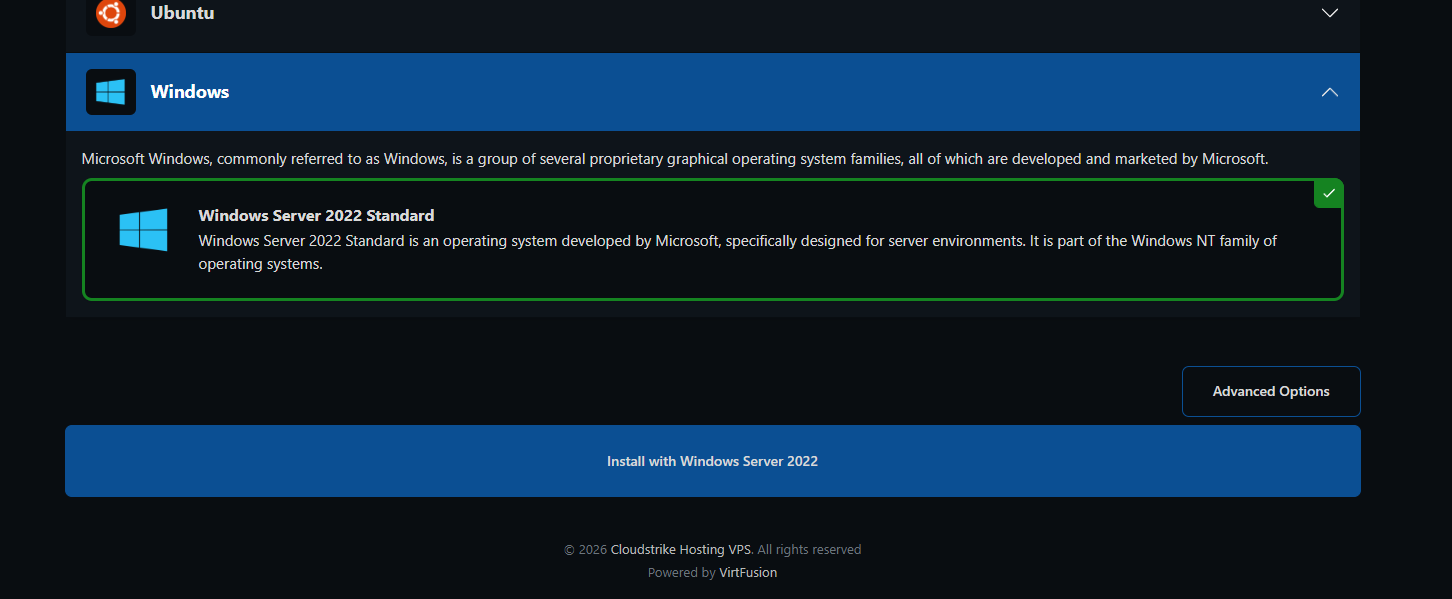
Select the operating system you'd like to install.
Most users choose Windows Server, but Linux and other operating systems are also available if you prefer.
Once you've made your selection, click Install.
Step 5: Wait for the Installation
Your operating system will now begin installing.
- Most installations finish in under 10 minutes.
- In some cases, installation can take up to 30 minutes.
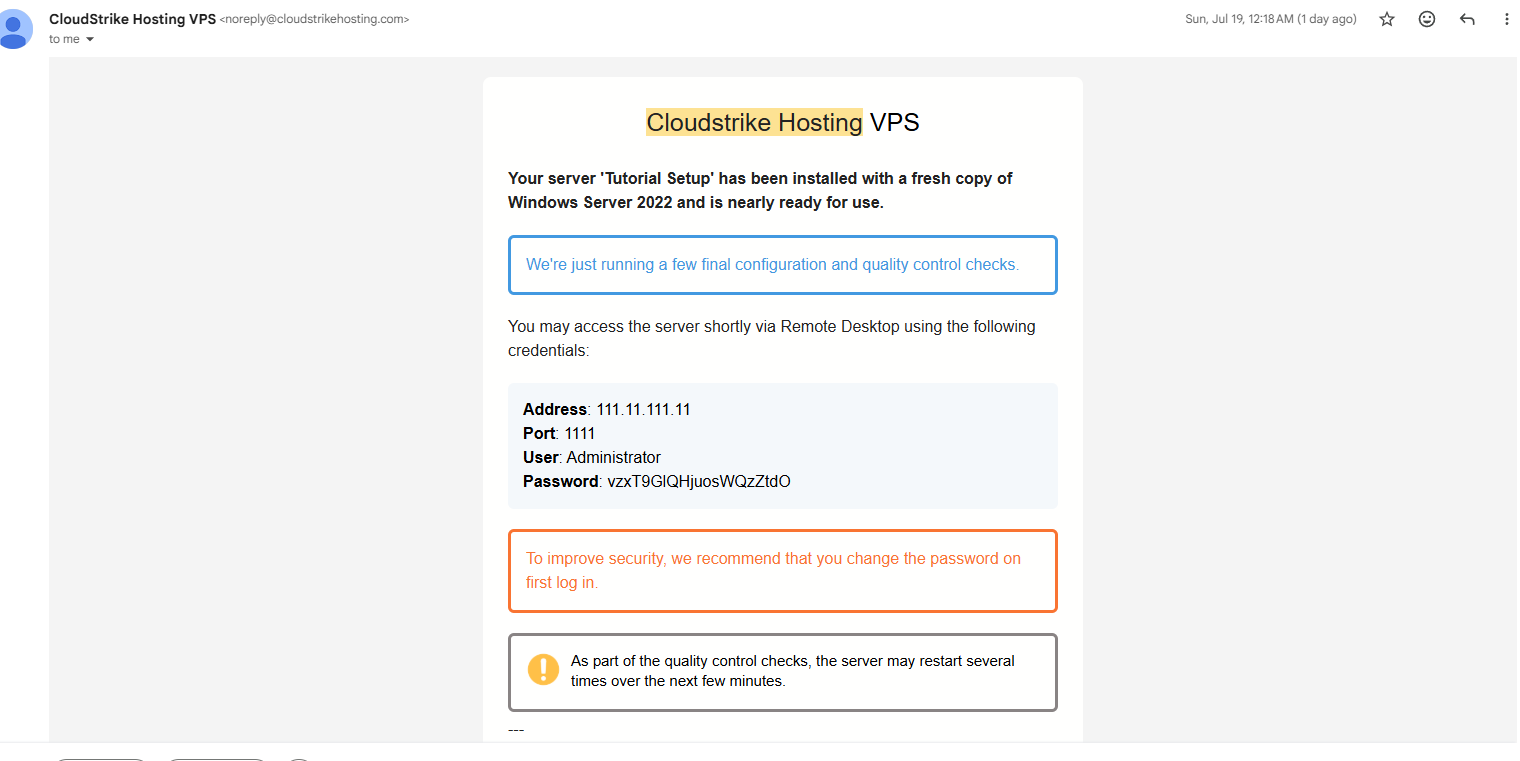
When the installation is complete, CloudStrike Hosting will send you an email containing your VPS login information.
The email will include:
- Your VPS IP Address
- Username
- Password
Step 6: Connect Using Remote Desktop
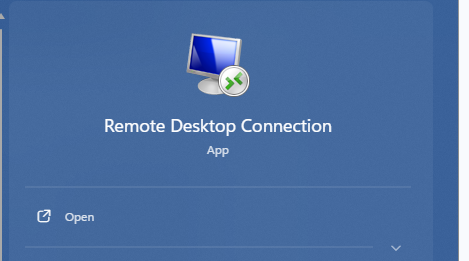
If you're using Windows, open Remote Desktop Connection (it's included with Windows by default).
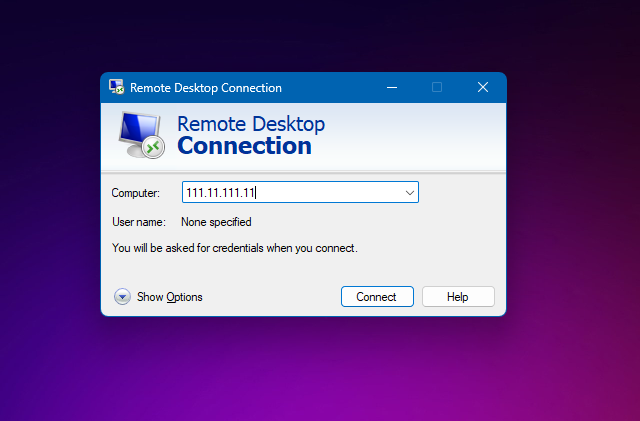
In the Computer field, enter the IP Address from your VPS welcome email.
Then click Connect.
Step 7: Log In
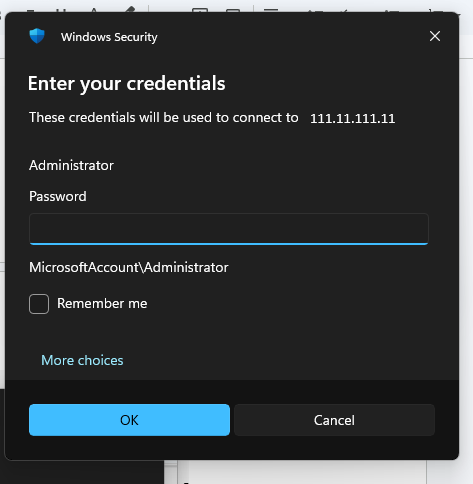
When prompted for credentials:
- Click More choices
- Select Use a different account
- Username: Administrator
- Password: Enter the password provided in your VPS welcome email.
If Windows displays a certificate warning, you'll see a message similar to this:
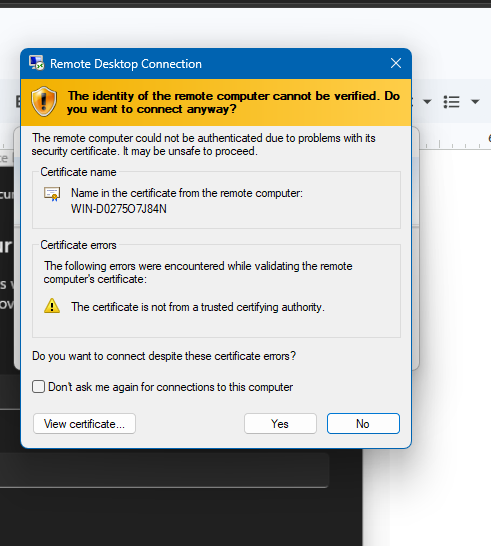
Check the box that says:
"Don't ask me again for connections to this computer."
Then click Yes.
You're Connected!
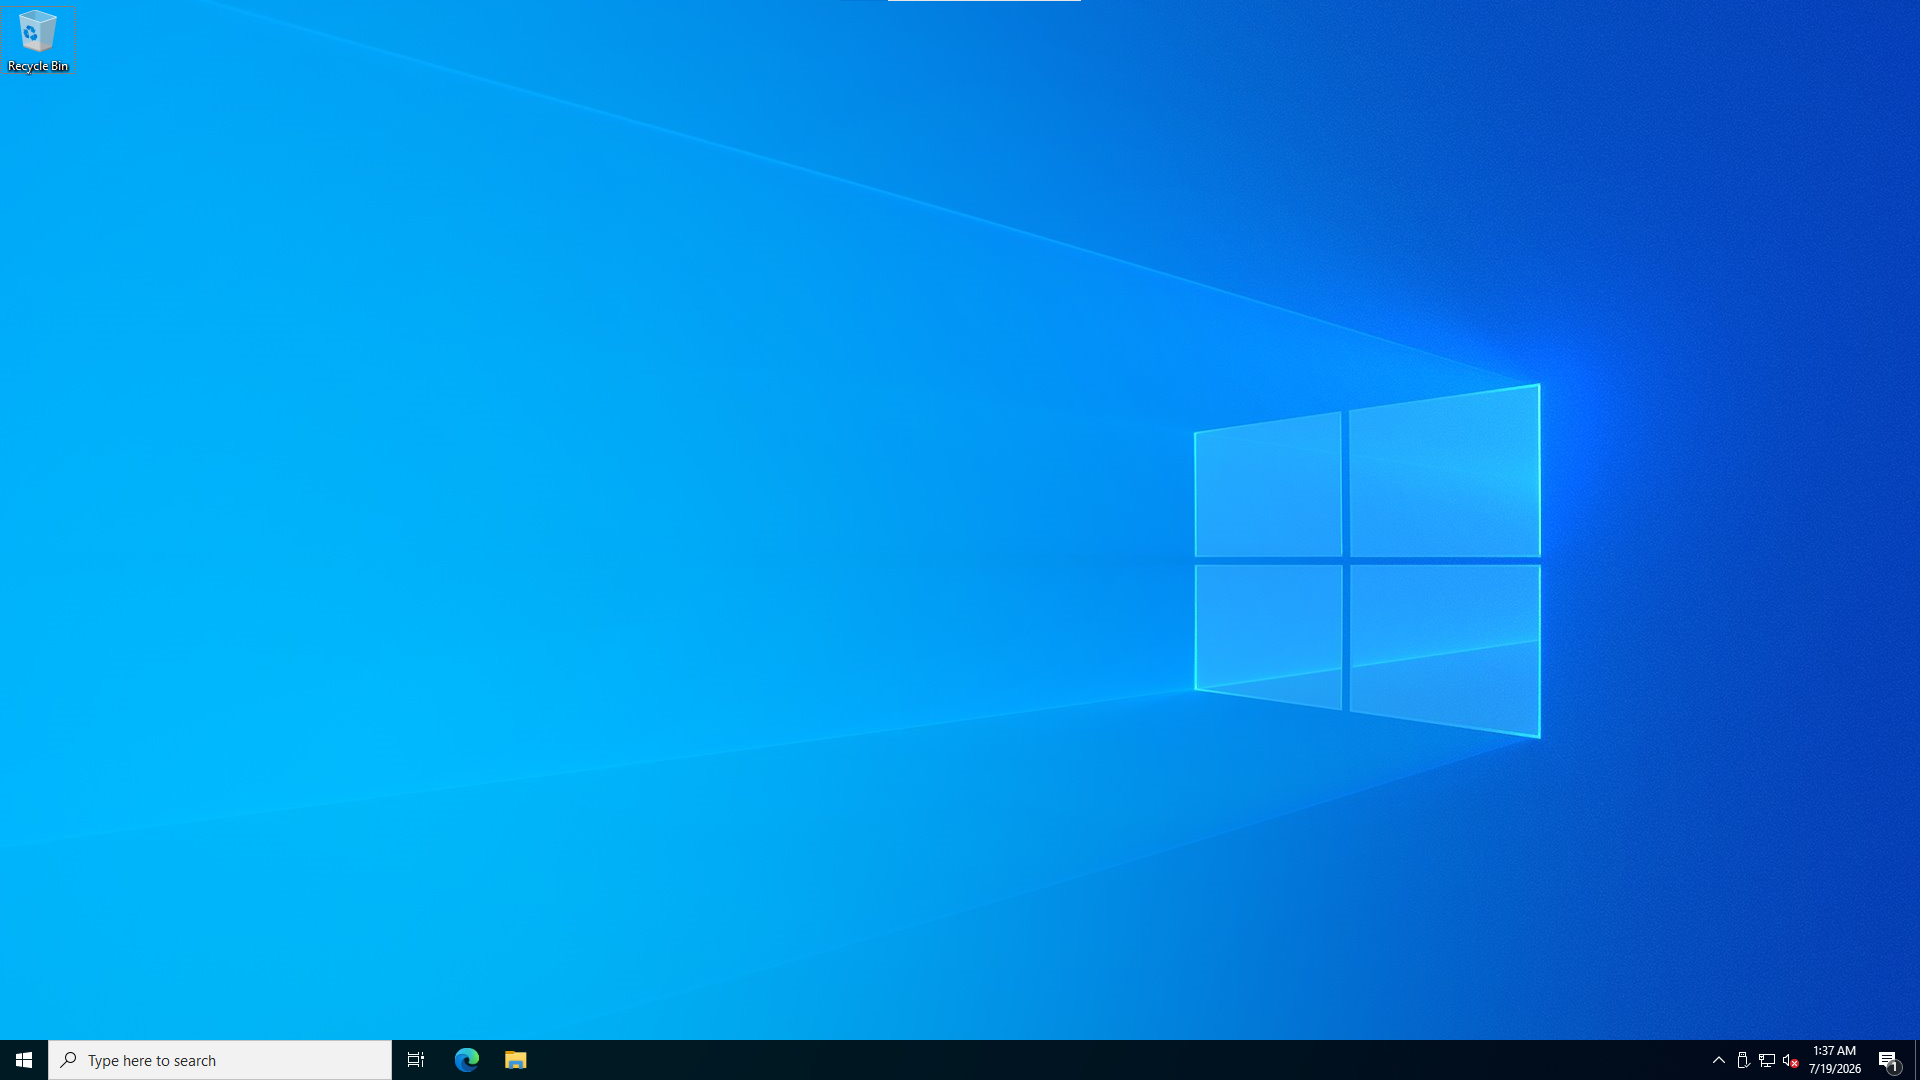
After a few moments, you'll be logged into your brand-new VPS.
Congratulations! Your CloudStrike Hosting VPS is now fully set up and ready to use.
Whether you're hosting applications, running game servers, remote working, or anything else, you're ready to get started.
Need Help?
If you run into any issues during setup, our support team is here to help.
For assistance, you can:
- Join our Discord support server: https://discord.gg/JwnumEWEq6
- Or log in to the Client Area - CloudStrikeHosting and open a support ticket.
Whether you have questions about your VPS, need help troubleshooting, or need assistance with your account, we're happy to help get you up and running as quickly as possible.