Creating a FiveM Server with txAdmin
This guide walks you through creating a new FiveM server using txAdmin on your VPS. By the end of this guide, you'll have a working server ready for configuration.
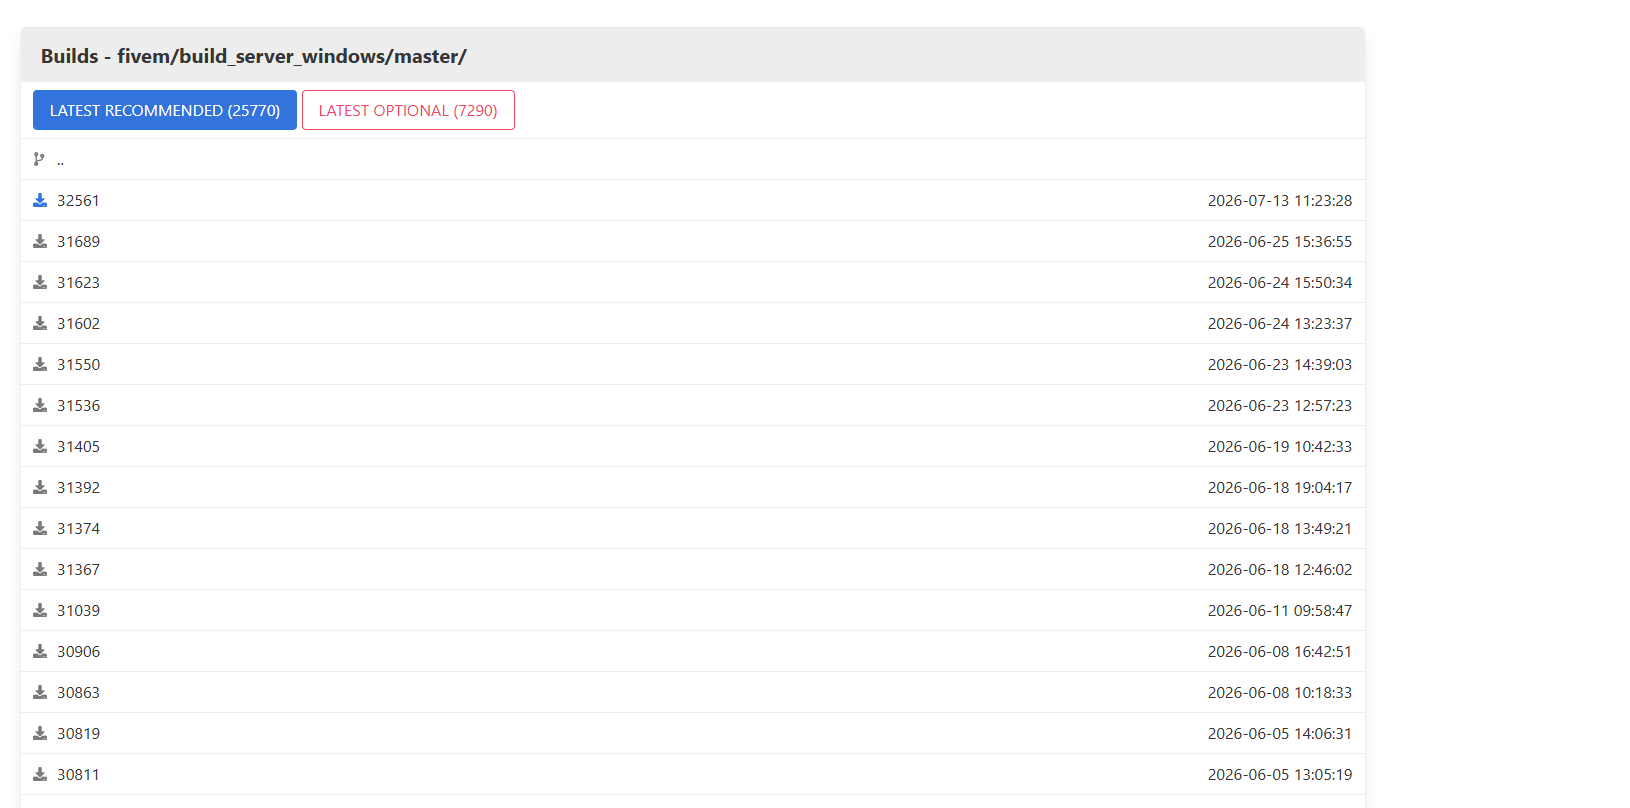
Important: At the time of writing, the latest FiveM server artifact button is experiencing issues. We recommend downloading build 32561 or if there a newer artifact make sure to check the date! instead of using the latest release button.
Step 1 – Download the FiveM Server Artifacts
Download the recommended FiveM server artifacts (Build 32561) from the FiveM Artifacts page.
Step 2 – Create Your Server Folder
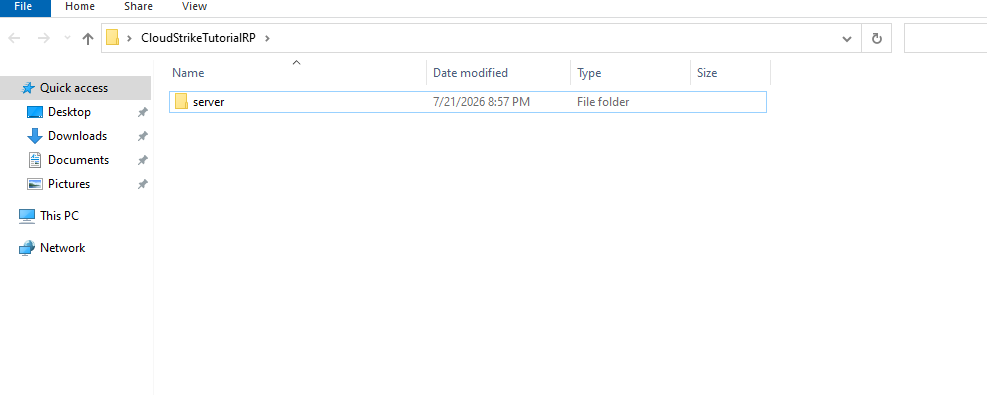
Create a new folder on your VPS where your server files will be stored.
We recommend naming the folder after your server.
Example:
- EclipseRP
- LegacyRP
- MyServer

Step 3 – Extract the Server Files
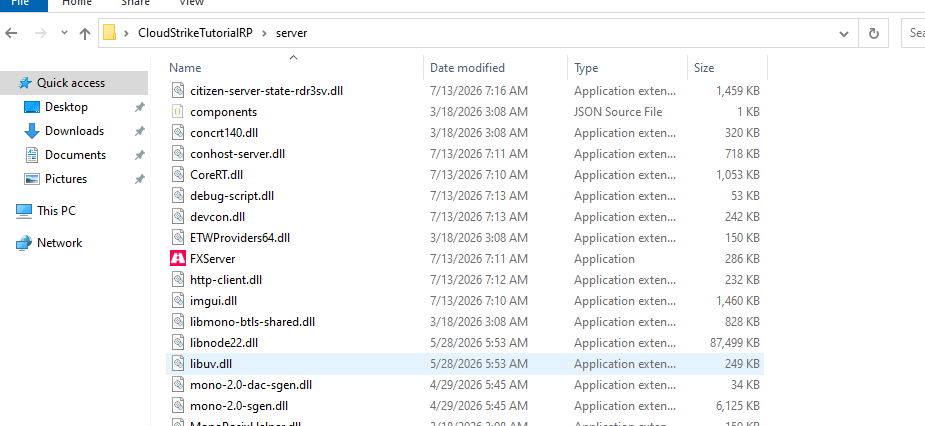
Extract the downloaded server artifacts into the folder you created in the previous step.
Once extracted, your folder should contain files such as FXServer.exe.
Step 4 – Launch FXServer
Open the server folder and run FXServer.exe.
The first launch will automatically open txAdmin in your web browser.
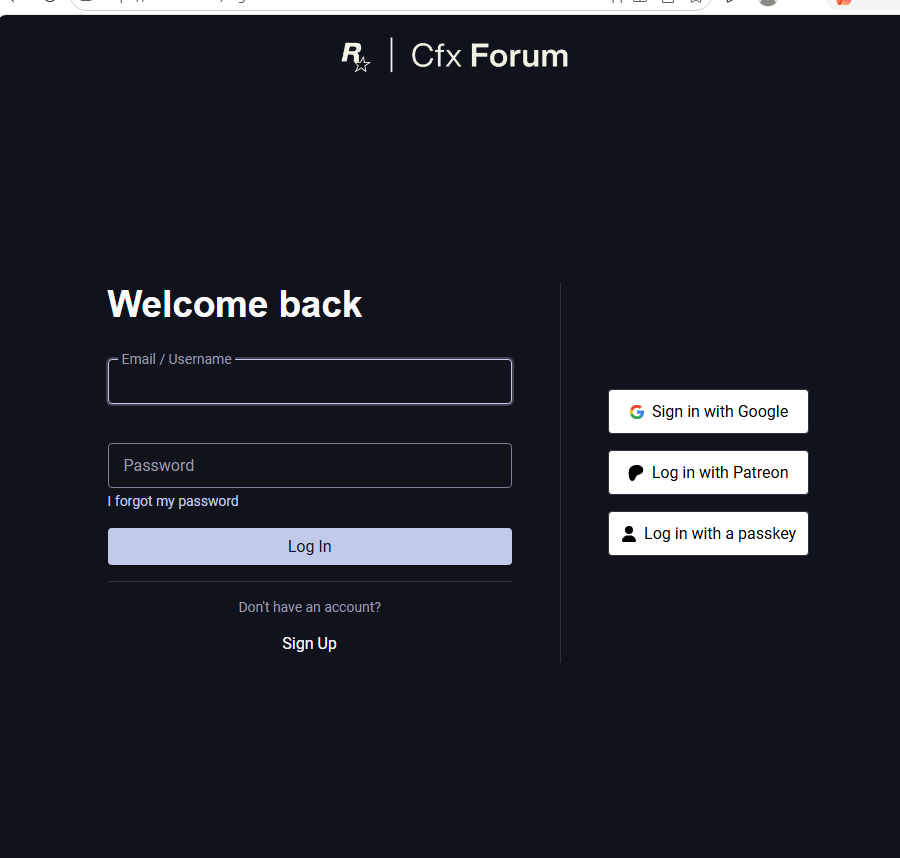
Step 5 – Link Your Cfx.re Account
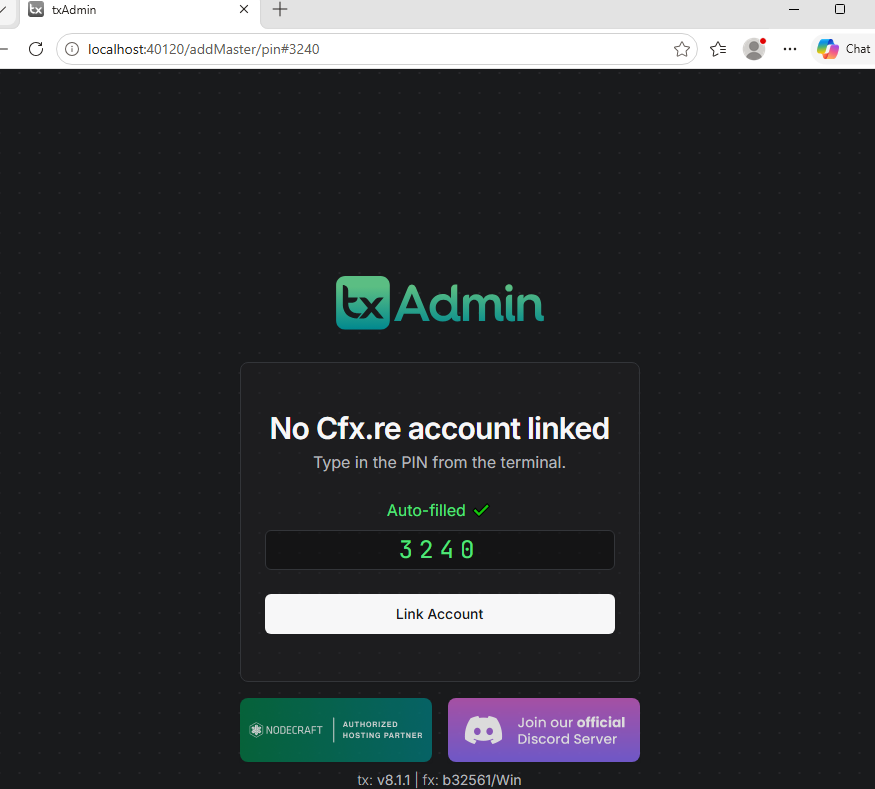
Click Link Account and sign in with the same Cfx.re account that owns the Keymaster license key you intend to use.
Using a different account will make it where you are not on the one with your owned assets !
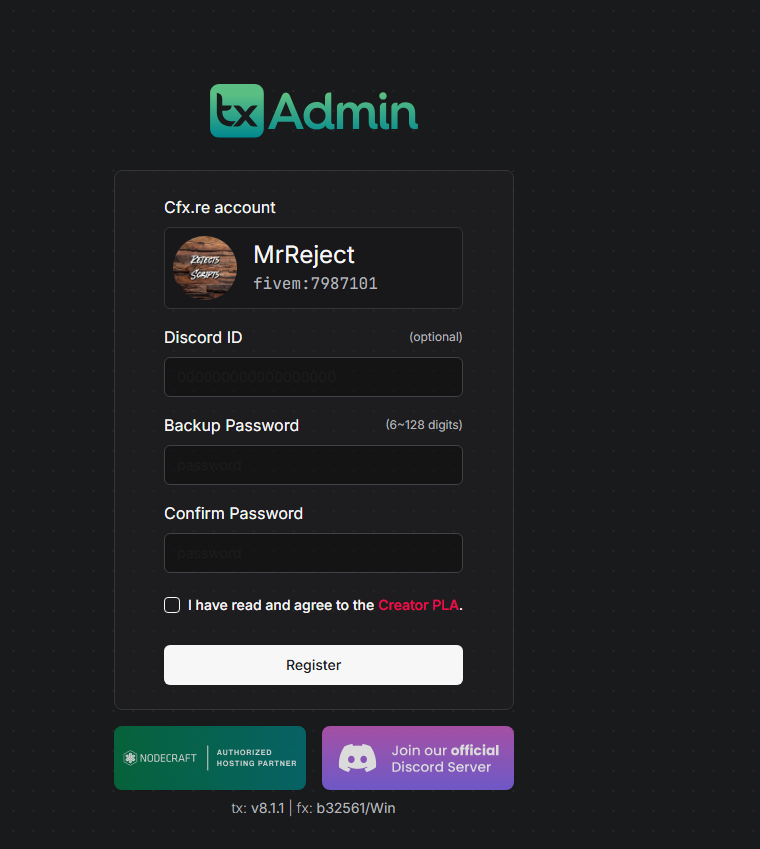
Step 6 – Create a Backup Password
Create a backup password for txAdmin.
This password can be used to recover access if you're ever unable to log in through Cfx.re.
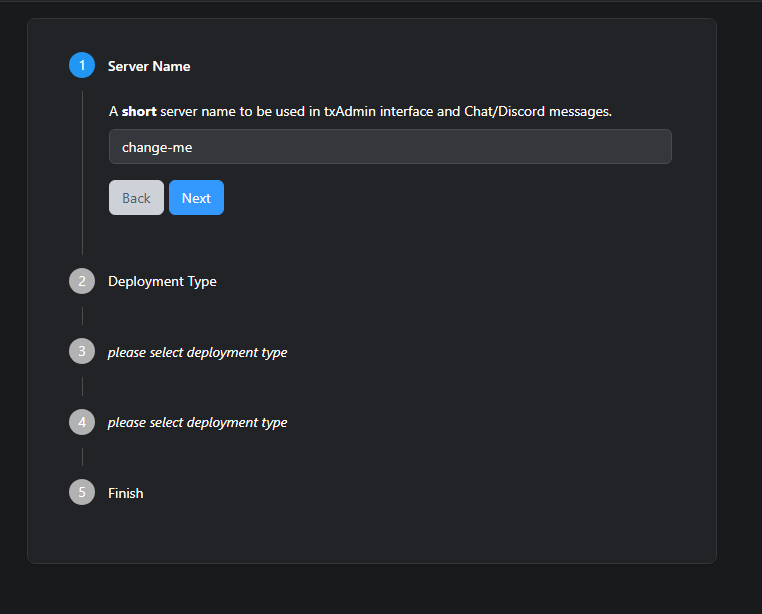
Step 7 – Choose Your Server Name
Enter the name that you want your FiveM server to display.
This can be changed later if needed.
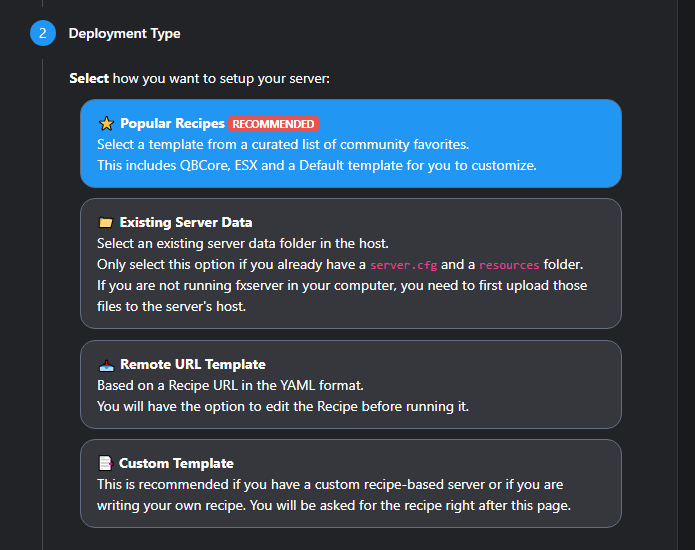
Step 8 – Select a Deployment Type
Choose Popular Recipes to continue.
This provides preconfigured templates for common FiveM frameworks.
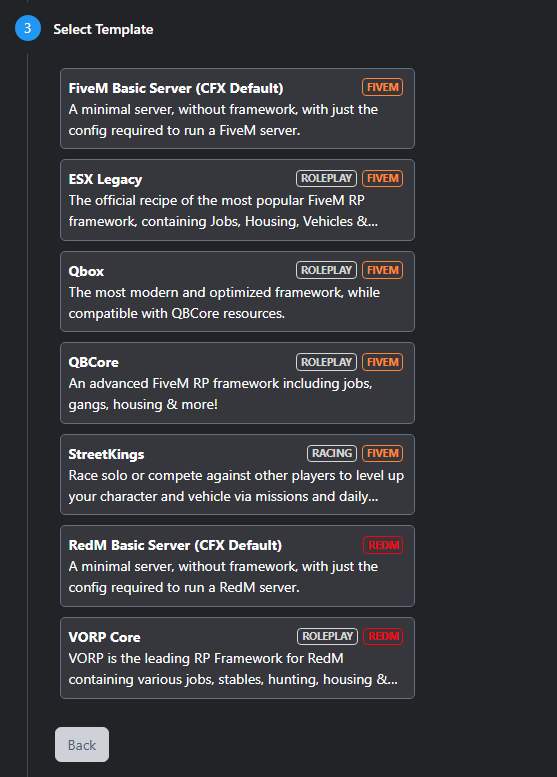
Step 9 – Choose a Server Recipe
Select the framework you want to install.
For this guide, we'll use QBCore.
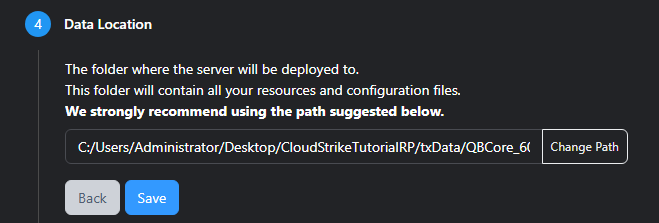
Step 10 – Confirm the Data Location
Leave the default Data Location unchanged.
Click Save, then select Go to Recipe Deployer.
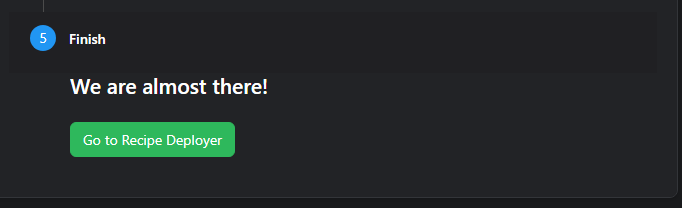
Step 11 – Start the Deployment
Click Go To Recipe Deployer to continue.
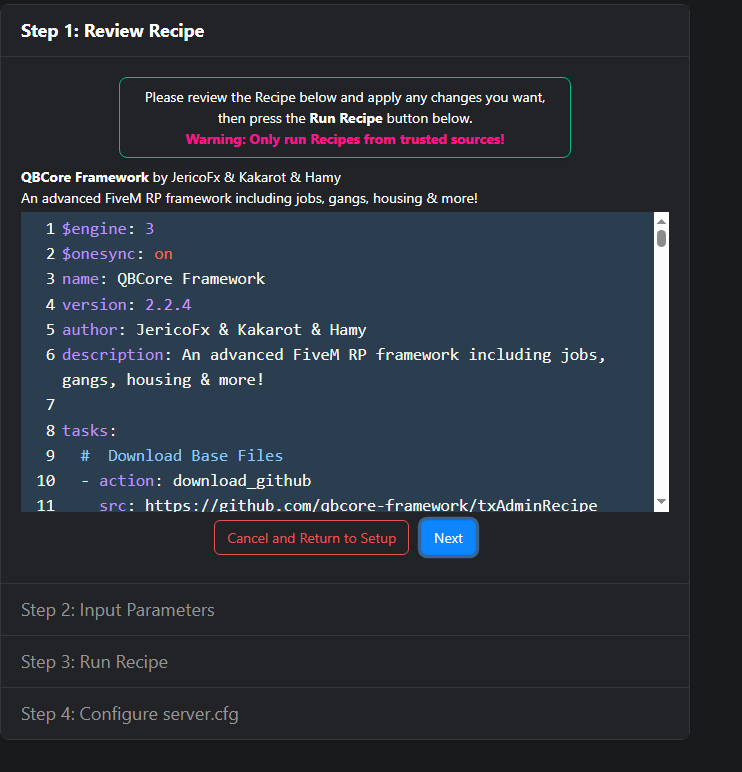
Click Next!
Step 12 – Generate a Cfx.re Server Key
Open the Cfx.re Keymaster portal.Server Registration Keys - Cfx.re Portal
- Create a new server.
- Enter your preferred server name.
- Click Generate Key.
- Copy the generated server key.
- Return to txAdmin.
- Paste the key into the Input Parameters field.
Click Run Recipe to begin the installation.


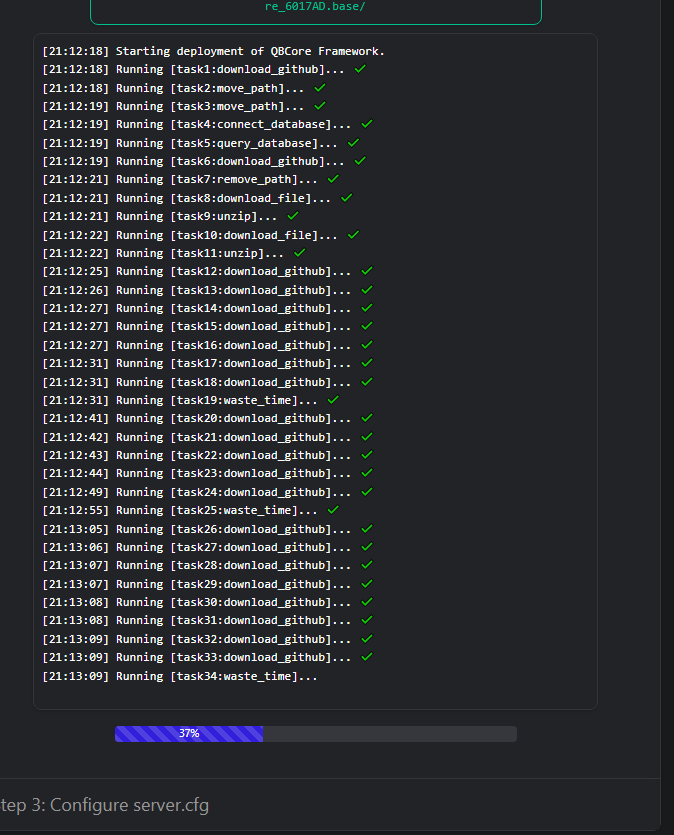
Step 13 – Wait for Installation to Complete
txAdmin will now download and configure all required server files.
Depending on your VPS and internet connection, this may take several minutes.
Step 14 – Review Your Configuration
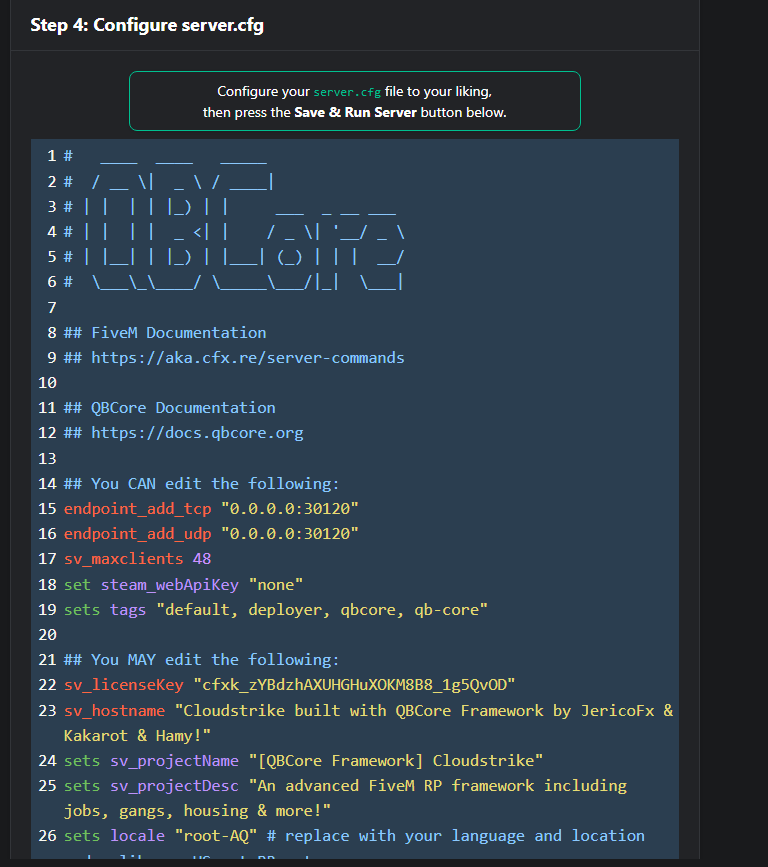
Once the installation is complete, you'll have the opportunity to edit your server.cfg.
For new server owners, we recommend only changing:
- Server Name
- Server Tags
The remaining settings can be left at their defaults until you're ready for more advanced configuration.
When you're finished, click Save and Run Server.
Congratulations!
Your FiveM server has now been successfully deployed.
The next step is to open the required network ports on your VPS so players can connect to your server.
Continue to the next guide:
How to open ports for your fivem server! - Knowledgebase - CloudStrikeHosting